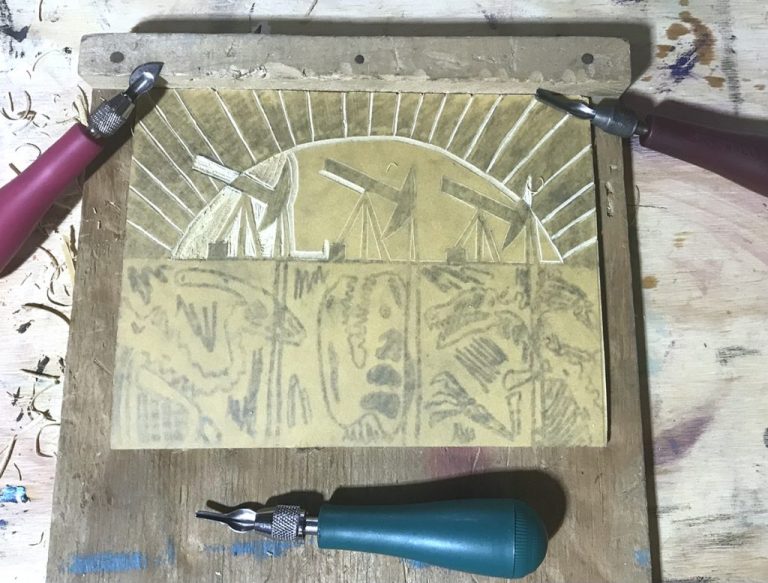
Going green is more than just color these days. It is a lifestyle! Today, recycling, eating organic, and starting a compost pile are as trendy as the next dance on TikTok. While these are fads that have the potential to even out our carbon footprint, you may be wondering how to incorporate some environmental thinking into your art classroom. After all, these approaches to integration can cause a shift in students’ attitudes about the environment and create an overall awareness of what is happening in the world around them. Art can be a safe way to explore these big topics.
Here are three environment-themed art lessons for you to try out this year.
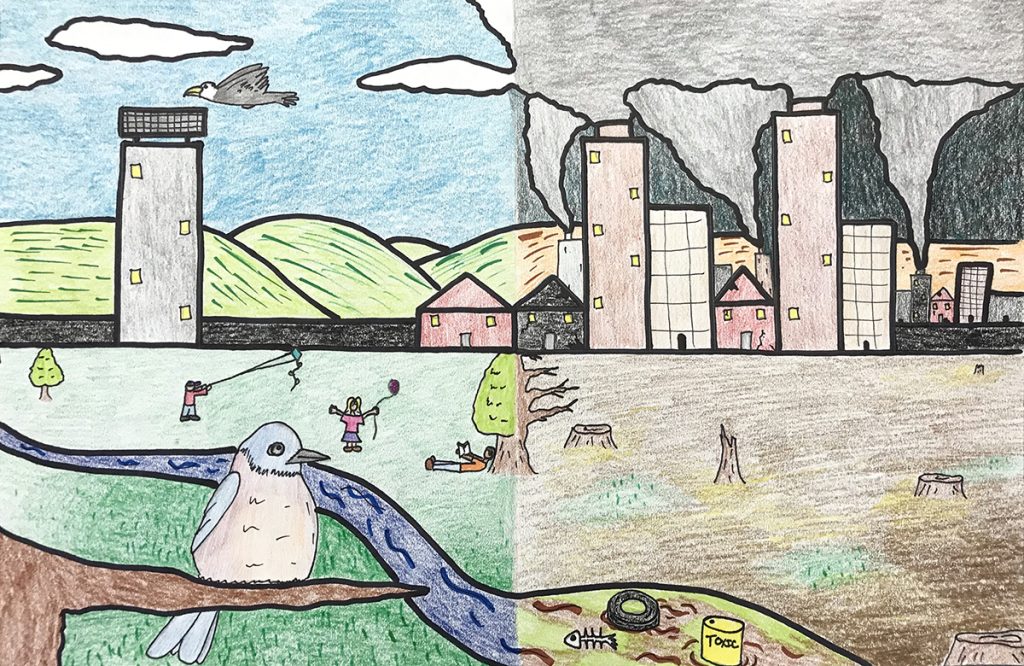
1. Dichotomous Landscape Drawings (Grades 3–5)
A dichotomous landscape drawing basically means a drawing with two parts. In this case, it will be a two-sided drawing. One half of the picture will depict everything great with nature, and the other side will depict some things that are not so great.
These are the four steps to get your students started on dichotomous landscape drawings:
- Brainstorm with your students.
Create a list of ideas that represent when nature is perfect or when nature needs help. - Fold papers in half.
Using any size drawing paper, students fold either “hamburger” or “hotdog” style. - Draw in pencil.
Let students choose whether to start on the “nature is perfect” side or the “nature needs help” side. Use ideas from the brainstorming session, or let students come up with their own new ideas. - Add color!
Medium choices are up to you, but you can’t go wrong with keeping it simple. Crayons, colored pencils, washable markers, or permanent markers will get the job done. Discuss how colors can affect the mood of each side. For example, brighter colors can be better suited for the “nature is perfect” side to create a cheerful, happy mood.
Students often use their artwork to voice their concerns about world problems. Giving them time to explore this topic can help them think through what is good for the environment and what we can do better. Hopefully, this will inspire change or encourage students to consider how to take care of our environment. If you are interested in a similar lesson, check this one out using markers and plein-aire sketching!
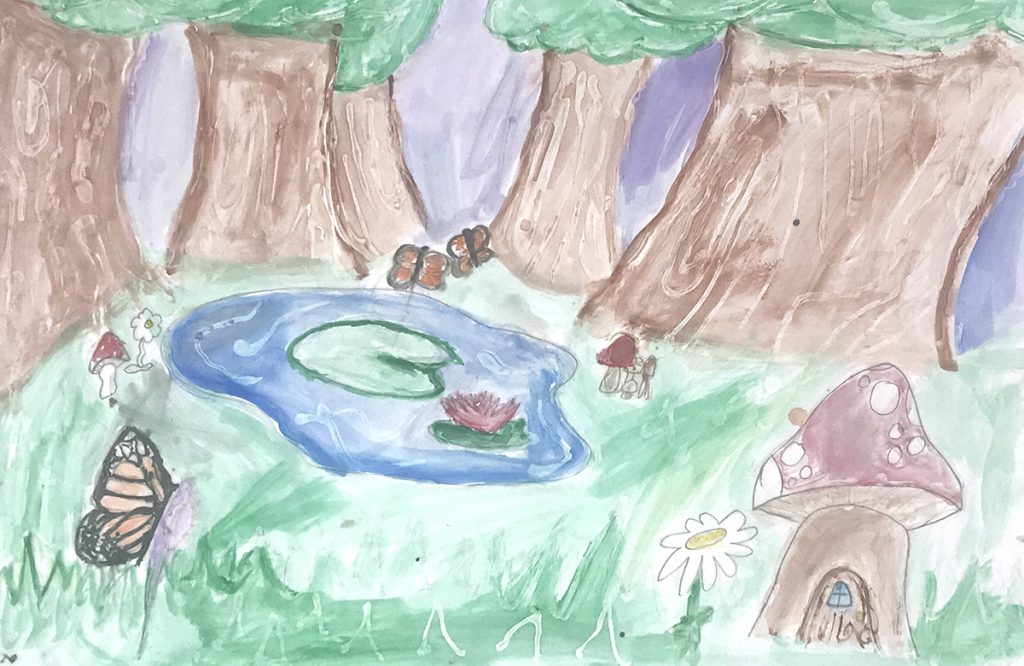
2. Nature-Themed Glue Paintings (Grades 4–6)
Do not let the title of this lesson fool you—your students will not be painting with glue! This lesson mixes traditional watercolor painting with a twist. Students will trace their pencil marks with glue. When painted over with watercolors, it will create a resist-like finish, leaving a lighter shade of the color and an interesting texture.
Here are four glue painting lesson steps:
- Choose an environmental theme or keep it open-ended.
Students research or brainstorm to get ideas flowing. - Draw ideas in pencil.
Poster board works best for this project. Encourage them to draw larger than normal since they will outline things in glue. - Trace pencil marks with liquid glue.
Go slow when tracing and squeeze the bottles gently. - Paint with watercolor.
Demonstrate basic watercolor techniques and let them roll!
This lesson and technique lend themselves well to certain textures like rocks, tree bark, water ripples, and more! Getting students to draw larger and go slow with the glue are the trickiest parts to achieving good results. When they finish, the change in watercolor shades and textures will be quite enjoyable to look at. This makes for a nice change of pace if you are looking to spice up some traditional materials.
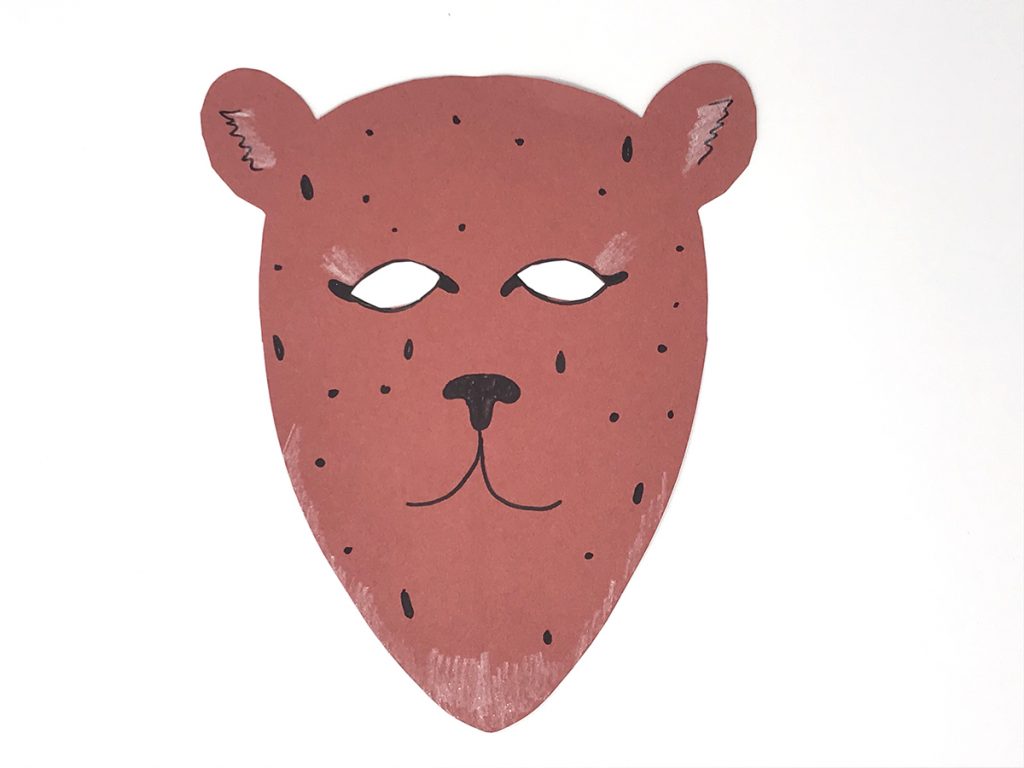
3. Paper Animal Masks (Grades 2–3)
Masks have the ability to hide our identity, make us a different person, or transform someone into something else, like an animal. Art can be a form of play for a child, especially in their earlier grade school years. Since playtime means learning time for our youngest artists, our job is to tap into this natural schema and use it to our advantage. This paper mask-making lesson is perfect for letting their imaginations run wild!
This is how to get started making animal masks out of construction paper:
- Choose an animal.
You can let them use computers to look up facts and pictures. For a screen-free option, use a large stack of animal books from your school library. - Draw their animal masks.
Students select one base color of sturdy construction paper to draw on. - Cut out the mask parts.
Show students tricks for cutting out their animal eyes, such as gently folding the paper and cutting a slit to insert the scissors. Provide scrap paper to cut smaller parts. - Glue the mask parts together.
- Decorate masks.
Use crayons, markers, colored pencils, string, or even glitter to add details and other adornments to the masks. - Add a headband.
For younger artists, pipe cleaners work great. - Wear the mask and pretend to be the animal!
Remember, building in “playtime” after the artmaking experience is developmentally critical to let them learn, explore, and use their imagination.
The most difficult portions of this lesson are cutting out the eye holes and putting on the headband. You know your students’ abilities the best, so choose a method that works for you and your group. Students can help each other, and you can change materials or have students form a line and let you help them one by one. No matter what happens, they can put their masks on and be something else for a part of their day. This makes for a memorable artmaking experience!
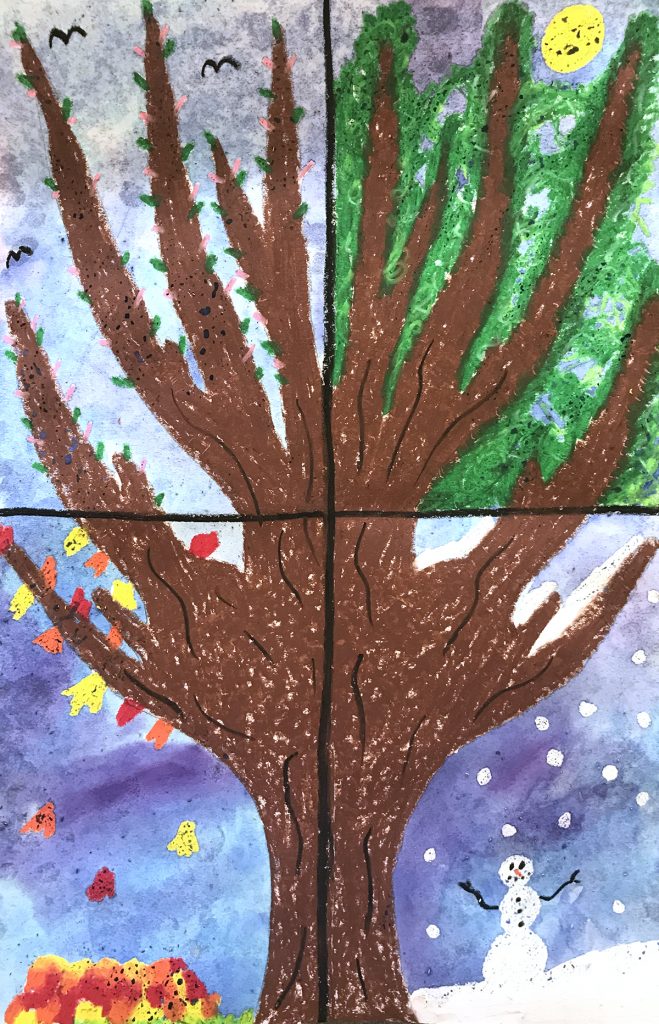
Environmental art is important in the art room to help our students become aware of and process what’s happening in the world around them. A simple way to get started is to add art lessons around environmental themes, like the three suggested above. Dig deeper by considering how your art materials can engage eco-friendly and responsible decision-making, like in this fabulous papermaking lesson. Hopefully, one of these lessons inspires you to give it a go! If you are looking for more, here are some other great art projects to get you and your students thinking green.
Do you already have environmental art lessons you teach?
Can you tweak an existing lesson to focus on an environmental theme?
