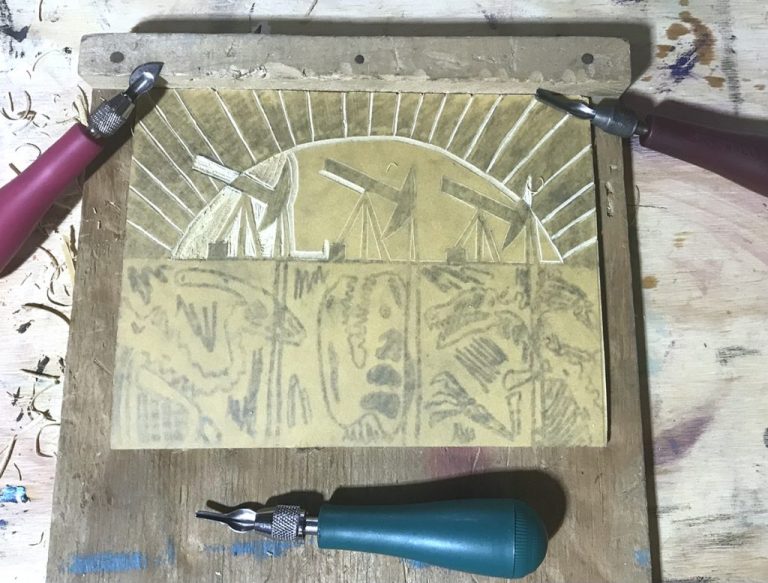
Have you ever wondered how much time people spend looking at art? The answer might shock you. Findings from a 2016 study claim people spend a mere 28.63 seconds on average. However, if your students are enrolled in IB Visual Arts, they will develop a more profound understanding of art. Your students can easily move beyond the “average” through the Comparative Study assessment task.
The Comparative Study is one of three required IB Visual Arts assessment tasks and is worth 20% of a student’s final examination score. This task will stretch your students’ observational habits and higher-order thinking skills. Students pursue research, analyze artworks, and make informed connections. Their study results in a visually enticing, written digital presentation. Although the Comparative Study assignment is specific to IB Visual Arts, the strategies and lines of inquiry can be used in all types of art courses and levels. These ideas lead to the heart of art comprehension.
Some of your students may start their IB experience with an enhanced understanding of art analysis. However, many students will need your support to analyze art with an informed approach.
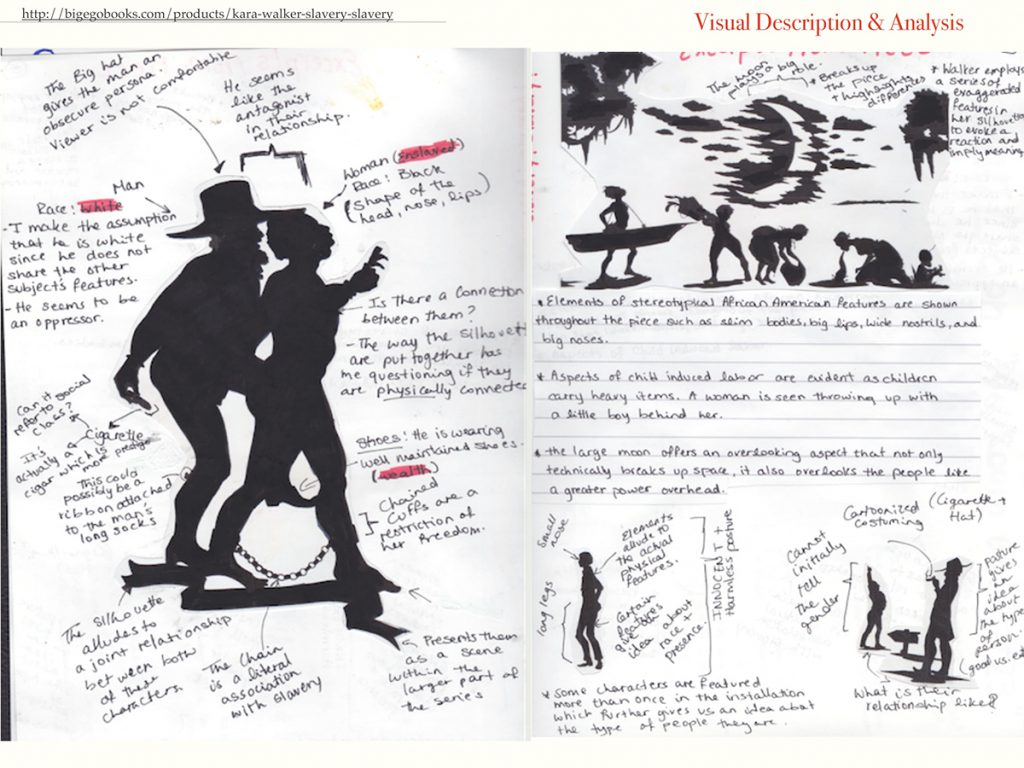
Let’s look at the requirements for the Comparative Study. We will digest the assessment criteria and walk through three inspiring strategies to support your students as they analyze art.
Unpack the Comparative Study at a glance.
The Comparative Study requires students to identify at least three artworks, artifacts, or objects created by artists from different contexts. This is an externally assessed task. Students submit their work to IBO’s website as a PDF file in April (northern hemisphere) or October (southern hemisphere). The Comparative Study looks different for students enrolled in the Standard Level (SL) or Higher Level (HL) course. Be sure to refer to the IBO Visual Arts Guide for detailed instructions and our overview article. The article features a download with an at-a-glance look at the assessment requirements.
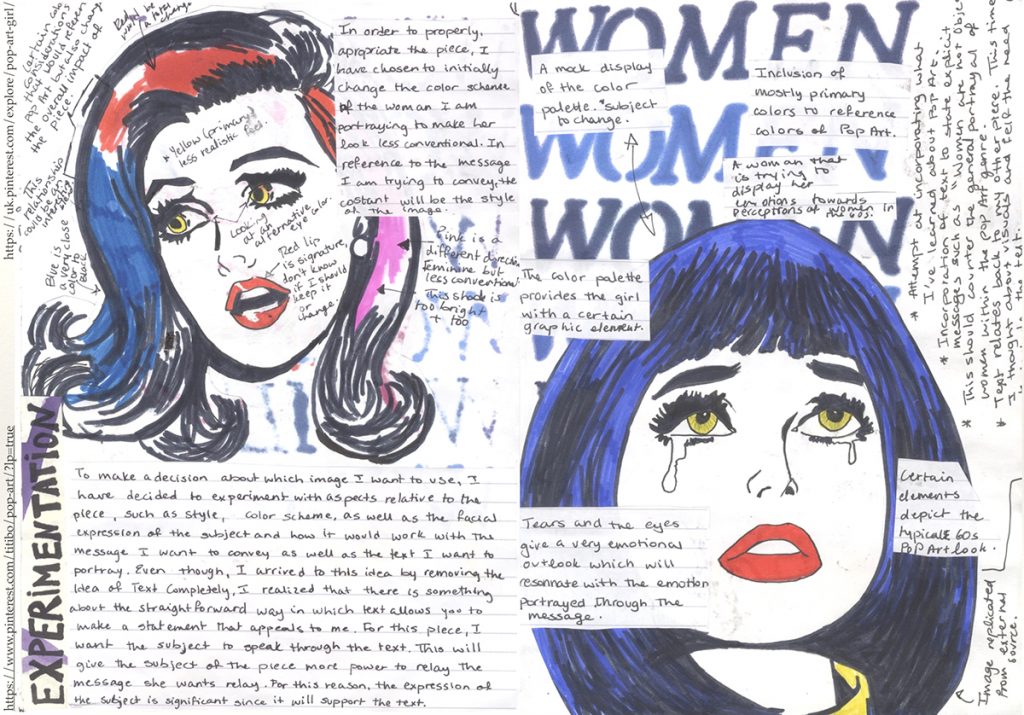
Expose students to artists and encourage their use of visual journals.
It’s never too early to introduce artists to your students! To start with, plan to expose your students to different art movements and traditions. Include artists from different time periods and various geographic or cultural backgrounds. Research and investigation into these domains will support students’ brainstorming processes. Students will need your support to apply best practices for art research. Ideally, your students will uncover the work of artists whose work resonates and holds relevance to their artmaking. As students gather information, they can document their findings in a visual journal. This artist research should also inform work in their Process Portfolio and Exhibition assessment tasks.
Support your students as they select artists for their study.
At the start of their first year in IB, tell students to watch for artists whose work and life are of interest. Students must arrive at their choices for the Comparative Study on their own. As their teacher, you can guide them to make artwork selections that fit well.
Students must select at least three artworks to compare from a minimum of two cultural contexts, including:
- Time periods
- Geographic locations
- Artistic movements
- Socioeconomic factors, such as race, class, culture, or religion
Students will need to draw conclusions about the impact of an artist’s world upon their work. Thus, students must consider artists’ unique backgrounds during their art analysis. You may be uncertain about the distinction between cultural contexts within a student’s selection. If you have doubts, advise your students to find a third artist from a third context for comparison.

Develop guiding questions and review vocabulary with your students.
Before you get started, review the assessment criteria of the IB Visual Arts Guide. Pretty hefty terminology is used in the Guide, and this might not make sense to students. Your students will need scaffolding to understand what is required within each markband of the rubric. Try breaking down the content into smaller pieces.
Here are some guiding questions to get started:
- What do you see? How do the elements and principles work together to communicate an idea?
- Why was the artwork made? Does the artwork have a practical function or a conceptual purpose? What do you think the artist was trying to communicate?
- How did audiences receive the work at the time in which it was made? How did art history or art theory inform the work? Were culturally-specific materials used? Did current events from the time influence the intent?
- How do the works compare to one another? Is there a theme, material choice, technique, or genre that connects the selected works?
- How might you present your ideas in a visually engaging way? What new vocabulary can you apply to your study?
- How did learning about other artists and their works influence your artmaking ideas? What do you notice that is similar in your work? What meaningful takeaways do you have?
As you support your students through the process of art analysis, review fundamental concepts, such as the elements and principles of art and design. Check out 3 Helpful Elements and Principles Downloads to review these concepts. Using the Feldman Method of Art Criticism, shared by the North Carolina Museum of Art, will provide practice with applying art vocabulary. Gently guide your students to use their vocabulary effectively and accurately. It may be helpful to place a copy of the FLEX Glossary in a central location within your classroom.
While students are engaging in the process of research, be prepared to review your school’s academic honesty policies and referencing style (MLA, APA, etc.). Within the Comparative Study, it is imperative that students cite sources for each image. Their citations should include available information, such as the title, artist, date, and medium. Students must also acknowledge and label their own artwork for the sake of clarity. Students are not assessed on their academic honesty, but, if the Lead Examiners suspect plagiarism, they will flag a student’s work for review.
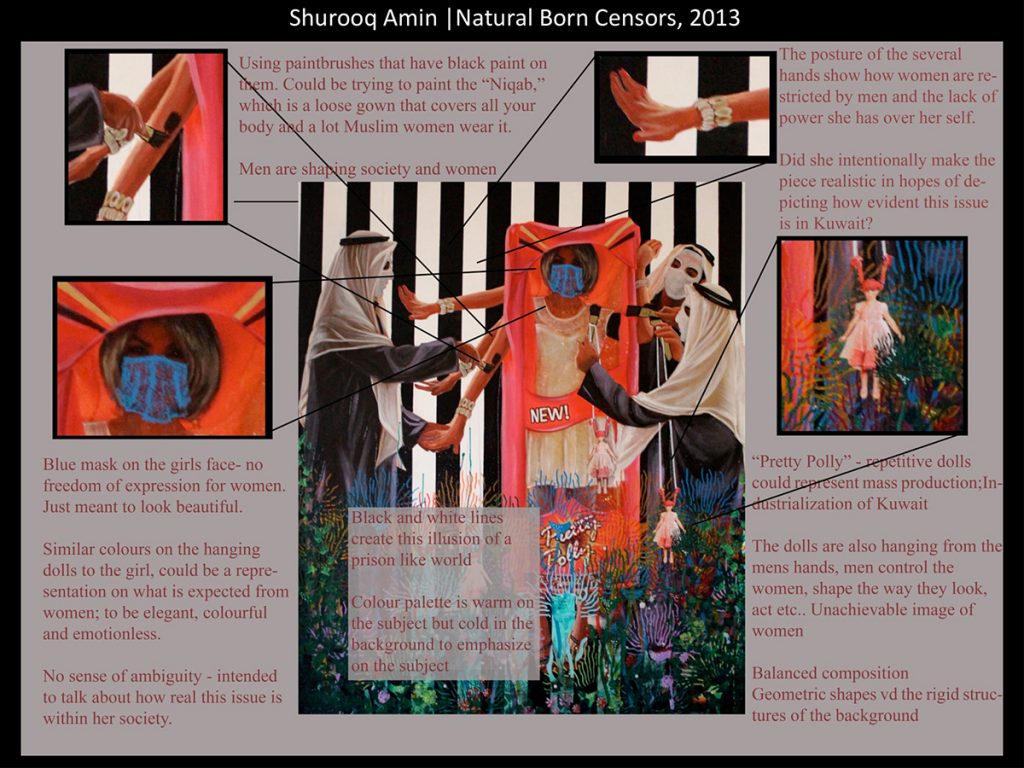
Here are three inspiring strategies to help your students develop their art analysis skills.
1. Make art analysis a routine practice.
A frequent complaint by art educators is there isn’t enough time to share art history in their classes. Build in routine art analysis activities to get your students to observe artwork. These exercises don’t need to take long! Warm up your classes with a daily slide on a single artist relating to the unit you are guiding. Integrate daily routines to generate thoughtful visual journal reflections and verbal discussions. With regular art exploration, your students will acquire the necessary tools to build a critical art analysis.
Here are three fun warm-ups you can do with your students this week to sharpen their art analysis skills:
- Scaffold student thinking with these three simple questions using Visual Thinking Strategies (VTS):
What do you see?
What do you see that supports this?
What else do you see? - Bring in student choice. Challenge your students to research and share an art slide once per week. Ask each student to moderate their discussion using VTS.
- Visit Project Zero’s Toolbox for Thinking Routines with Art or Objects. Some fun ideas they share include See, Think, Wonder and Think, Puzzle, Explore.
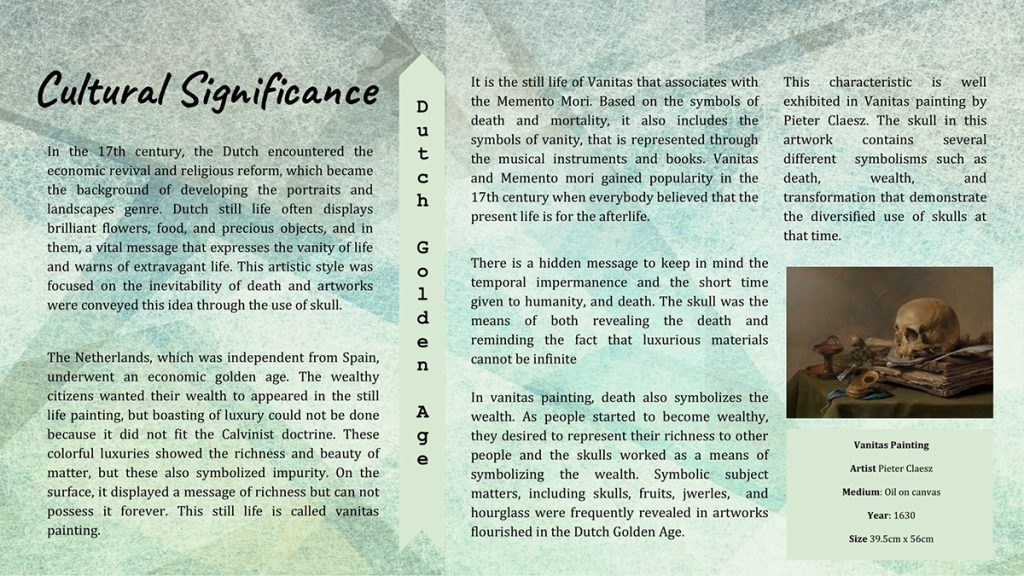
2. Collect art images and create an art historical timeline with your students.
Collecting colorful art postcards, calendars, and old art history textbooks is an excellent habit to develop. Whenever you visit an exhibition, look around for free postcards or brochures. Keep an eye out for secondhand art history textbooks and, yes, cut them up! You will find it’s not difficult to amass a variety of images that might pique your students’ interests.
Label the dates on the back once you have gathered two or three dozen images. You can use these materials in a 45-minute lesson with your students. There will be several teachable moments to plug in some gaps on art history during this activity!
Here’s what to do:
- Set up adjoining tables to create room for making a timeline.
- Spread out the art images on the tables, ensuring dates aren’t visible.
- Ask students to arrange the images in order from earliest to most recent.
- Challenge your students with questions:
Can you explain your thinking?
What makes you so sure?
Is there anything here that seems out of place? - After students finish, offer suggestions and insights to stretch their thinking further.
- Pin some of the postcards up on a bulletin board. Add in labels of major art movements alongside key dates for future reference.
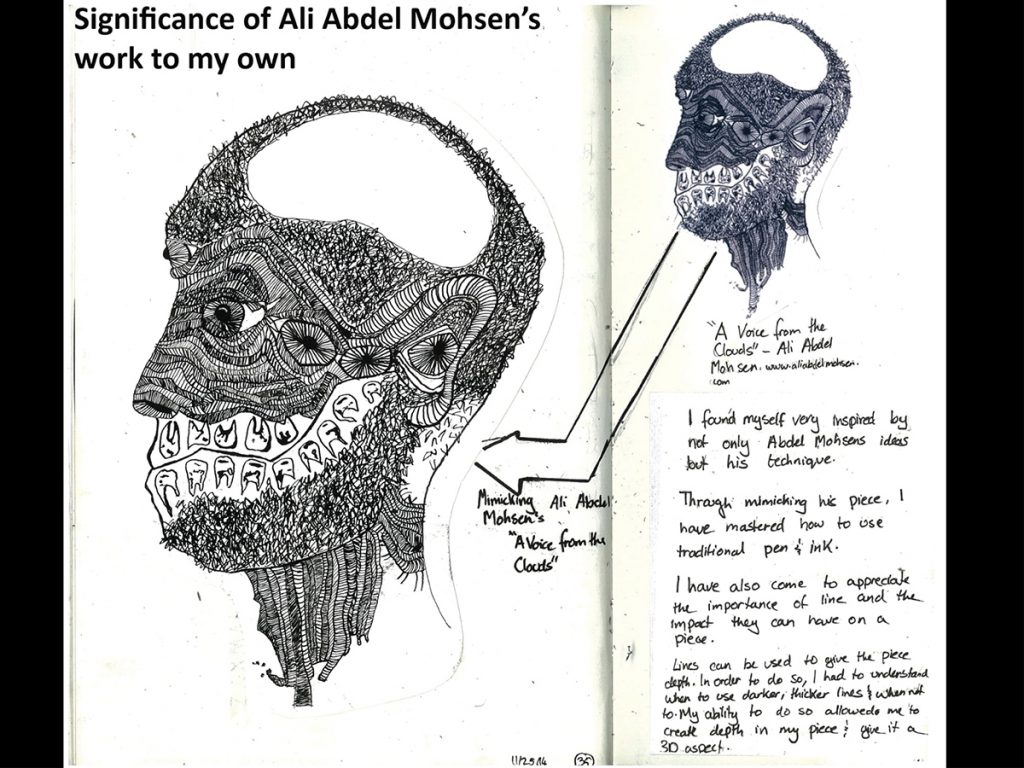
3. Help your students visualize their thinking.
The Comparative Study presentation should include written introductions, analyses, and reflections. However, students also need to visualize their thinking. Guided exercises will enable students to independently analyze artwork in their sketchbooks or digitally.
Here are five ways students can visualize their critical art thinking:
- Detailed Sketches
Create detailed sketches of artworks to help students slow down. They will begin to notice the finer details of a work of art. Sketching artworks is especially helpful at the start of the Comparative Study. - Venn Diagrams
Venn Diagrams are a great way to compare details of the study. Students can compare the elements, principles, and media applications between various pieces. - Mind Maps
Mind Maps help students visualize their observations and brainstorm possible interpretations. Mind maps are an excellent tool for HL students when they connect their artwork and the Comparative Study. - Timelines
Timelines require students to do a bit of research. Students also consider the important events of the period that shaped the artist’s life and work. By visualizing the artists’ lives, students can make deeper connections. - Complexity Scales
Use a Complexity Scale. Students write down less complex ideas on one end of the scale. Then, they add more complex ideas to the other end of the spectrum. As students grow in their critical thinking skills, they can reorganize their scale. The scale allows students to understand their developing interpretations and evaluations.
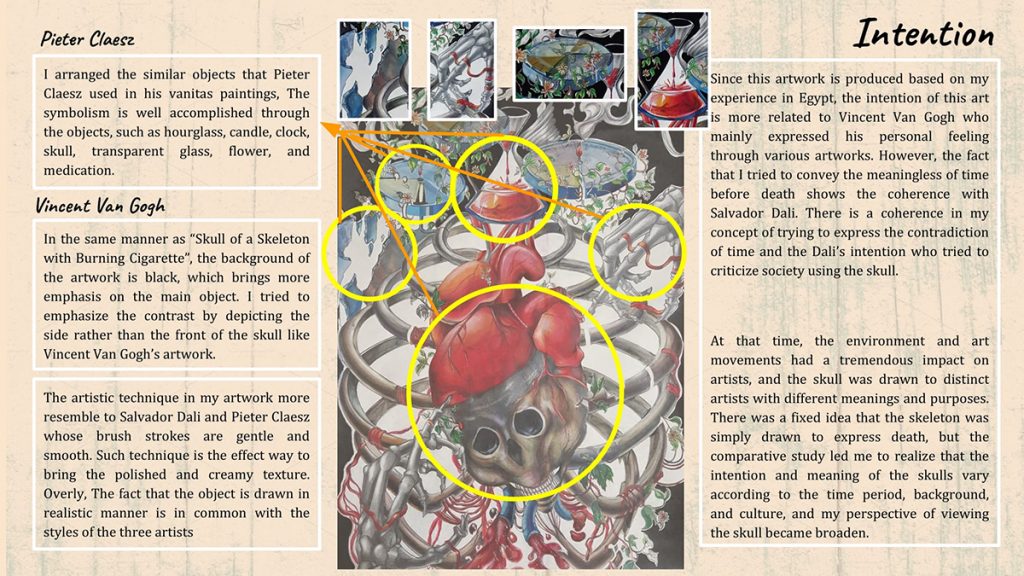
Like all art analyses, the Comparative Study may feel overwhelming for students at first. Art analysis asks you and your students to take a deep dive into the worlds of artists. This is no easy feat! Taking the criterion one by one, you will start to see the benefits of this assessment task. The Comparative Study can weave through the Exhibition and the Process Portfolio work. In this way, it contributes to a more holistic understanding of art during the two years of IB Visual Arts. Understanding the big ask of students within the Comparative Study can ultimately support students of all levels as they build upon their research and analytic skills.
How do you use visual journals to think through your ideas?
Which aspects of the Comparative Study are you most excited about?
